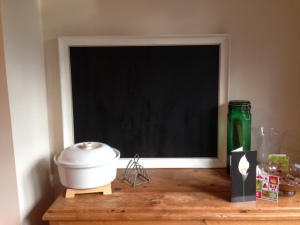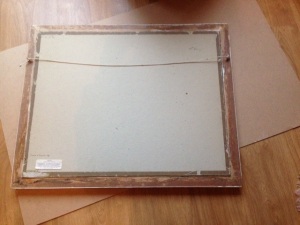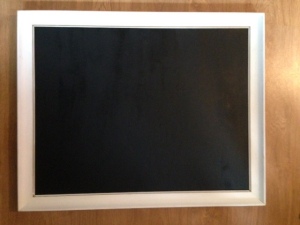
Wecome to my Wednesday Wonderings blog. This week I have been wonderfully busy sorting our new home. One of the most fun elements of this sorting was creating this chalk board – which was for my son’s room and has inspired me to do one for me too!
I constantly self edit, a left over element of my teenage years I am sure… or perhaps something that adulthood has forced me to do? Anyway, I try to think through what I say or write, forever over-worrying about what others may think. I often change my mind sometimes mid discussion, have incoherent thoughts and mutterings, and often doubt my knowledge. Writing a blog has thus been rather daunting… .. So a chalk board for a serial self editor like me is wonderful. Anything can be written, and then removed easily!
My Art on the other hand is a way I can fully express myself. I don’t feel the need to self edit. I just draw, create or paint what I feel. Sometimes that is raw or sensual, erotic, painful or pure joy….. but it’s a kind of exposure that I take pleasure from and safety in.
As I get older I’m not sure if I self edit more or less. It probably depends where I am and who I am with. I am constantly finding that my opinions are challenged, often by my own thoughts. The more I learn and know, the more I become aware of how little I know and how much there is to explore in this world. So through my Art I can simply express and explore. Asking questions, making a point or simply capture a moment or moments of my thoughts or visions.
So for those of us who constantly press delete, screw up the page or hesitate to speak, I give you Art. True freedom of expression, love, pain, joy and simply you.
Happy Wondering
Susan xx
If you fancy making a chalkboard then check out the simple steps I took below 🙂
You will need:
A frame including backing board, but no glass
Chalk board paint
Brush
You ‘may’ need:
Something to place under the frame to protect your surface
A damp cloth
Protection for your clothes
A mask
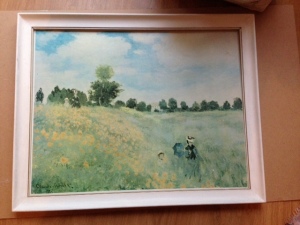
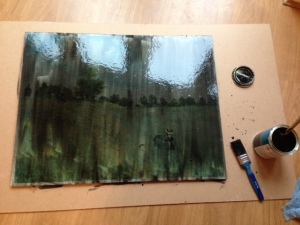
Get yourself a frame (without glass), it can be a blank one you buy off the shelf, or if you like ‘upcycling’ like me then grab one from your local charity shop, junk yard or tip sale! This one had a poster (Monet :)) stuck in it on the board which was quite damaged and dirty, but gave a smooth surface to work on. But you can simply use the backing board that comes in a blank frame too.
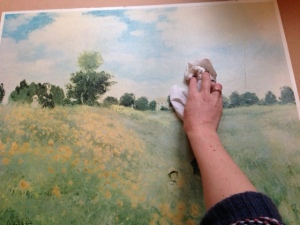
I had to give mine a clean, frame and board as it was quite dirty. i simply used a damp cloth.
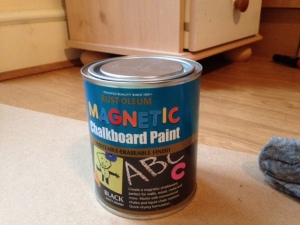
Next get yourself some chalk board paint. This is the one that I used. Make sure you are in a well ventilated space to paint, I started in the house but had to move to the shed as the fumes were quite strong.
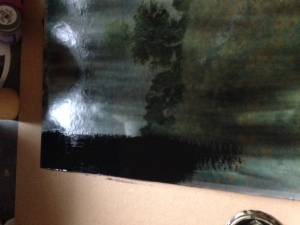
Remove the board from the frame and place it on the surface you wish to paint on. I used a large piece of packaging board. Stir the paint well and using a brush paint the first thin layer of chalk board paint. Then let it dry.
This first coat took about an hour to dry, but it was a cool damp day so it may not always take that long.
Next paint a second layer. Again, leave it to dry. I left my second coat for several hours as I was fitting it around my day.
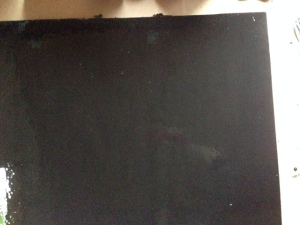
Continue this painting and drying process until you feel you have sufficient coverage for the chalk board. I found three coats was enough. The paint I used is also magnetic but I wasnt looking to use it for this purpose. It will just hold a magnet, but to get a good magnetic strength I believe you would need at least two more coats.
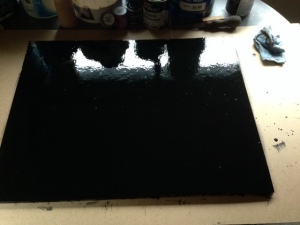
Once you feel you have enough paint on (if you are not sure then simply test the dry board with chalk/magnet and see if it works) place the board back in the frame. I then used the fixings in the frame to replace the board and then used masking tape to fix the board in place.
And there you have your finished chalk board ready to use and looking lovely!
